Proper Maintenance Can Provide a Lifetime of Splicing
Effective fiber splicing is a direct result of a well-maintained and clean fusion splicer. While you may think that they are one in the same, they each have their own methodology to ensure the best performance over the lifespan of the splicer. A splicer that is well-maintained AND clean will help ensure proper connections and prolong the life of your fusion splicer. The fact is 80% of the maintenance issues we see at UCL Swift are the direct result of improper cleaning. To maintain your splicer and ensure that it is splicing properly and accurately, here are a few things to consider:
Maintain a regular routine cleaning of your All-In-One splicer.
Here are 4 key parts to ensure a proper cleaning:
1.Clean the stripper. When using 900µm fiber, the tight buffer jacket needs to be stripped and the 250µm acrylate coating. The discarded jacket and coating will bind up against the stripper stops. This material needs to be safely and quickly removed between each stripping with a set of hand tweezers or brush as they can get caught up on the alignment system, fusion chamber or sleeve heater oven. Once lodged in these areas, debris can be tough to locate with the naked eye, and heat from the fusion chamber or heater can melt the debris onto the fusion splicer, making it difficult to remove and increasing build-up over time.
2.Clean the cleaver . Good cleave angles are the gateway to successful splicing results. If not kept clean, it will bring dust to the fiber end face, resulting in big splice loss. There are 5 pads on a cleaver (3 on the bottom, and two on the door). Make sure that those 5 pads are free of any debris or discarded glass. On the cleaver door, you want to make sure that the center plunger is freely moving up and down. If you have a chip bin, you should empty it daily, making sure to safely discard the shards so they cannot hurt anyone handling the trash.
3.Clean the fusion chamber lenses. Within the fusion splicing chamber, there are lenses that can be found just below the top and bottom electrodes. To clean these, remove one of your electrodes to free up space for a lint-free fiber optical grade cleaning stick. In a circular motion, clockwise to counterclockwise, clean the surfaces of both lenses.
4.Clean your ceramic V-grooves. In the fusion chamber, there are “V-Grooves” where the fiber ends rest between two electrodes (the conical, pointy metal parts) that send a high-power electrical charge around the glass to fuse it together. When a fiber or connector is placed into the fusion chamber, it has been cleaned with a fiber wipe and fiber cleaner, then cleaved and put directly into the chamber to rest on the V-Groove. Even though it has been cleaned, the fiber can easily carry dust or debris into the chamber just like the wind can.The objective is to remove all debris from the physical channel. You do this with a stiff bristled brush, with left to right movement. Examining the physical groove, with a 10x or greater jeweler’s loop. The debris will be in the form of small, white flakes. This function should be performed at a minimum of one time per day. This buildup can be the primary cause of high attenuations and alignment issues.
Be sure to purchase one splicer with the right manufacturer.
Most splicers come with a specified time period of covered maintenance but have to be registered with the manufacturer in order for the maintenance contract to be valid. For Thefo, our splicers come standard with a three year maintenance agreement. Please visit the store for more choice.
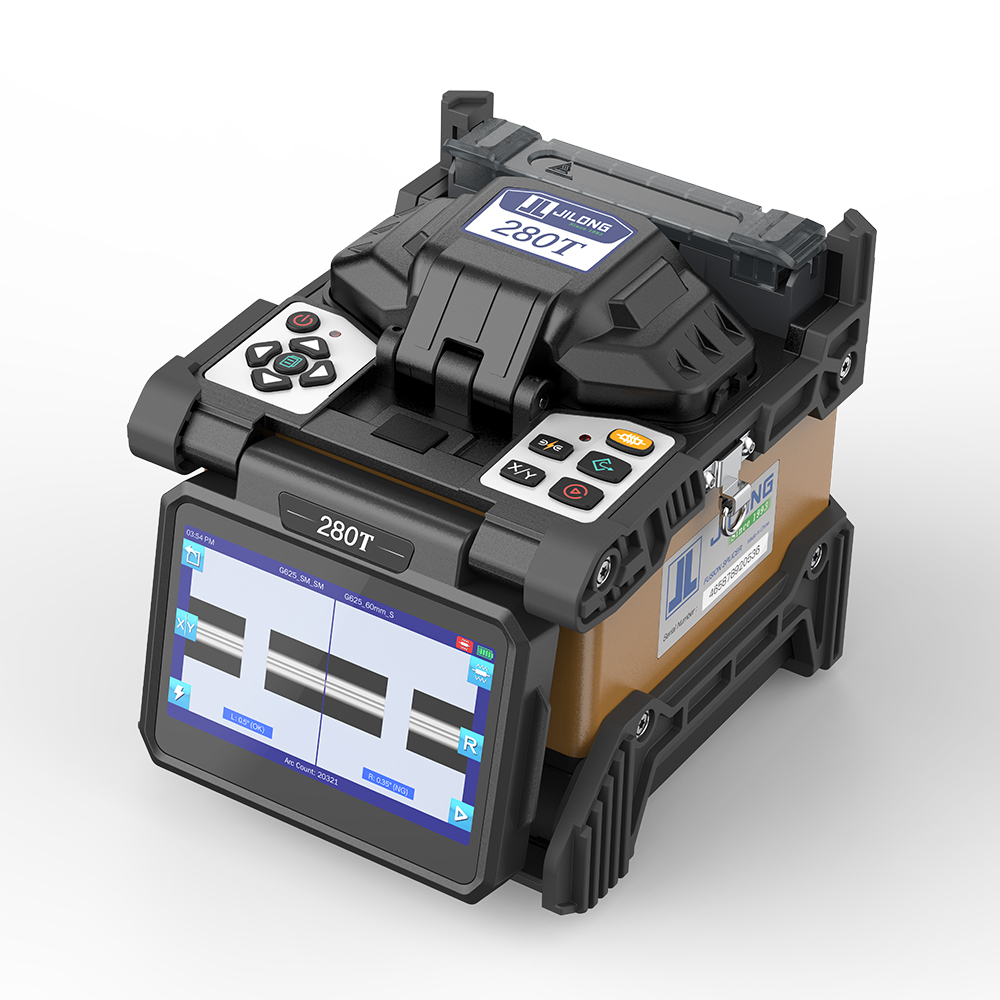
Here is a fusion splicer for you to choose:
-
Newest 280T All-Rounder Middle Trunk Line Fusion Splicer

-
Core features:
· 4 Motor mainline fusion splicer· Fiber core alignment,Fiber core visible· Auto splice & auto heat function· Fully ruggedized for shock, dust, and moisture· 3-Year extended warranty· 4.3-Inch capacitive touch screen· Tool-less electrodes replacement

